> ## Documentation Index
> Fetch the complete documentation index at: https://support.pexcard.com/llms.txt
> Use this file to discover all available pages before exploring further.
# Create Tags for Exporter app
> If your **PEX** source is set to **Tag**, create a corresponding tag in Tag Manager. For example, if the Account field is mapped to PEX source - Tag:
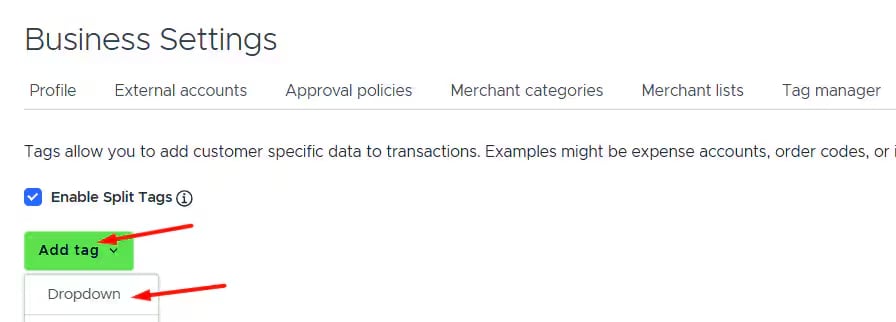
Go to [**Tag Manager**](https://dashboard.pexcard.com/business-settings/tag-manager?utm_source=support).
Click **Add Tag** -**>** select **Dropdown** as the tag type.
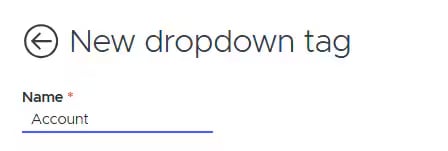
 Name the tag (e.g., "Account").
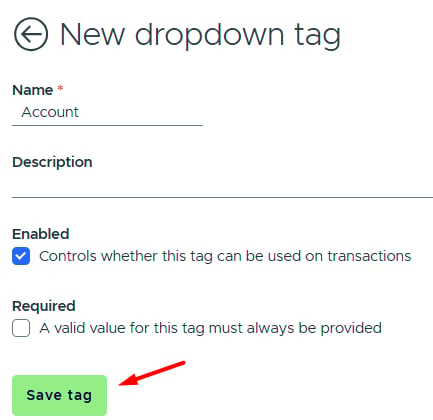
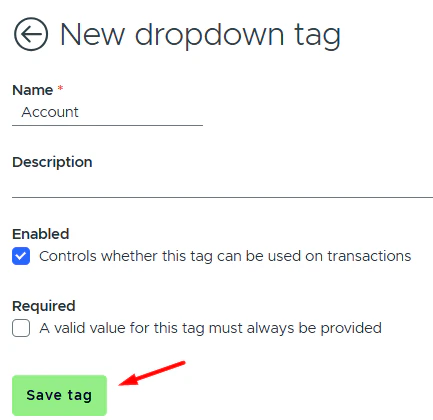
 Click **Save tag**.
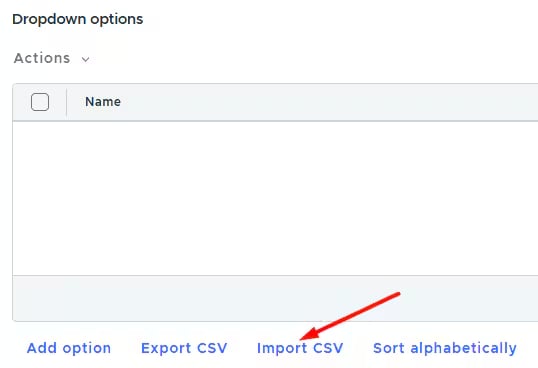
 Click **Import CSV** to upload your tag options (chart of accounts in our example). More details on CSV import are available in our [support article](/administrator-guide/how-to-setup-and-create-tags-with-tag-manager#csv).
 Return to the Configure tab and select the created tag in the **PEX value** column for the "Account" field.
 Before exporting, make sure your transactions are tagged. You can [tag manually](https://dashboard.pexcard.com/login?url=%2Ftransactions%2Fcard-transactions\&utm_source=support) or use PEX [Auto Tagger](https://dashboard.pexcard.com/login?url=%2Fapps%2Favailable\&utm_source=support) to create rules that auto tag transactions. Find more details on Auto Tagger in our [support article](/administrator-guide/pex-auto-tagger).
